

In the previous article creating my first chatbot using Sarufi, which was quick way to make a chatbot. Today am going to integrate the created chatbot with telegram. You might have already heard of telegram in deployment of chatbots.
Geeting this ready.
Cloning required repo
I am going to keep using the virtual environment created in the last article. we need to to clone sarufi telegram chatbot blueprint in the virtual environment.
>>>git clone https://github.com/Neurotech-HQ/telegram-chatbot-blueprint.git
Creating telegram chatbot
Create Telegram bot by following instructions in Telegram documentation.
Once the bot is created, telegram provides a token. This token will be used to authenticate the bot with telegram.
Putting things together.
After cloning the repo, what remains is only editing the config.yaml file.
sarufi:
  username: xxxxxxxxxxxxxx@gamil.com #email
  password: xxxxxx # password used
  bot_id: xxx #my bot id

telegram:
  token: xxxxxxxxxxxxxxxxxxxxxxxx #telegram's bot token
  start_message: |
    Hi {name},
The start_message is the bot response when /start command is initiated.
Here we go in the final parts of finishing up. In the terminal, simply run command below.
>>> python app.py
then go in telegram searching for bot's name and starting conversation to test out the bot.
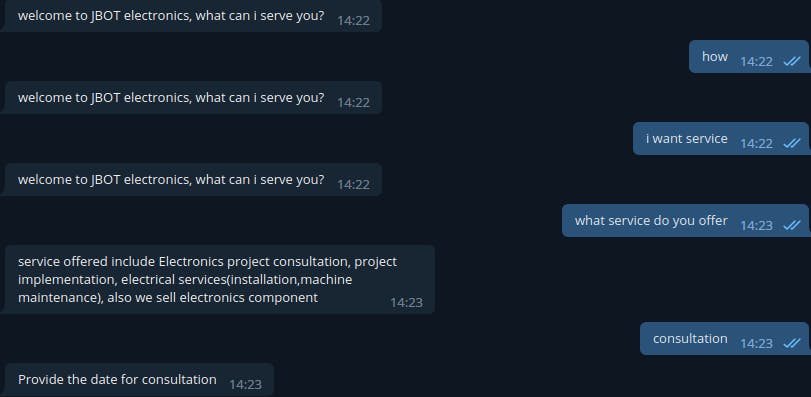
Results
Here is the screenshot of one of the conversation with created bot.